How To Restrict Highlevel Dashboard by User Role
Highlevel Dashboard, Dashboard Access Control, User Permissions
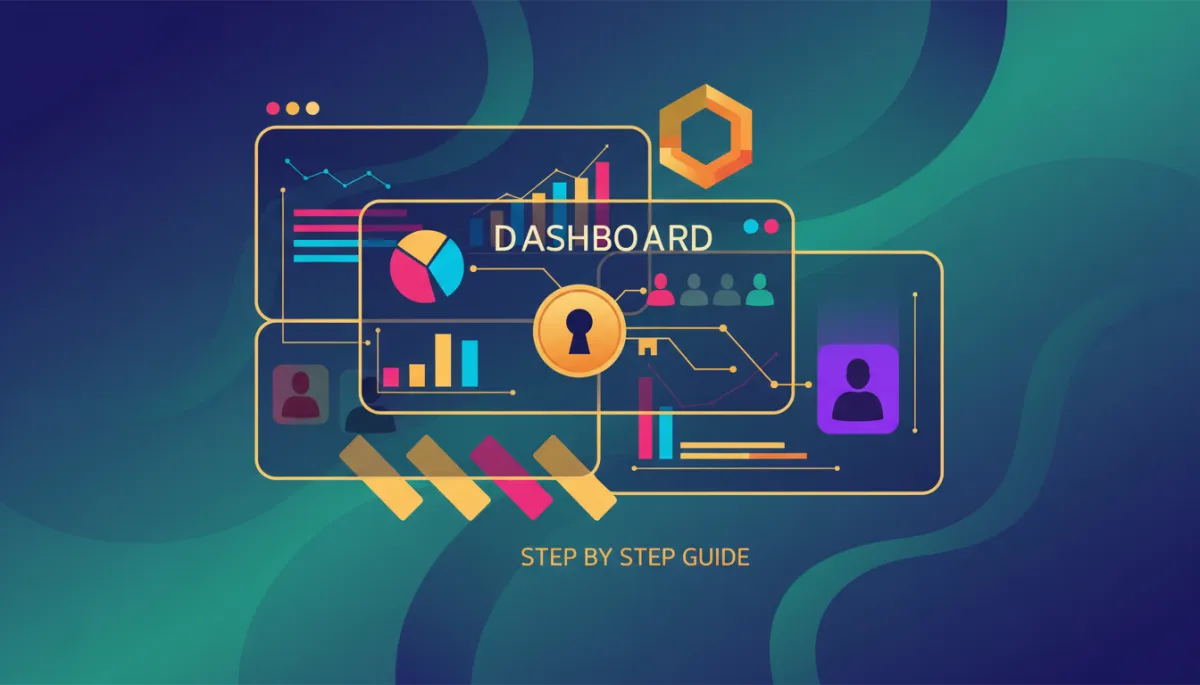
How to Restrict Your Highlevel Dashboard by User Role: A Step-by-Step Guide for Premium Control
In a world where your data is the new currency, treating your Highlevel Dashboard like a velvet-rope lounge—exclusive, curated, and impeccably controlled—is no longer optional. It’s a hallmark of a sophisticated business or agency that understands the value of precision access and elevated client experiences.
Why Restricting Dashboards by User Role Is the New Standard of Luxury Operations
When a client, executive, or team member logs into your Highlevel Dashboard, every chart, metric, and button they see should feel as if it were designed exclusively for them. That is the essence of Dashboard Access Control—giving each role a curated, clutter-free, and secure view that reflects your brand’s commitment to excellence.
Allowing everyone to see everything is the digital equivalent of leaving your private client files scattered across a marble lobby table. It’s not only risky; it dilutes the sense of trust and sophistication your agency or business is striving to project. By choosing to restrict dashboard views by user role on every Highlevel Dashboard you create, you are making a statement: access is intentional, information is refined, and your brand operates at a higher standard.
💡 Pro Tip: Think of your dashboards as private suites, not open-plan offices. Each user role deserves its own tailored space.
The Business Case: Why Every Highlevel Dashboard Must Be Role-Restricted
Before we step into the step by step guide, it’s worth pausing to understand why role-based User Permissions are not just a technical feature—they are a business advantage, a trust builder, and a brand differentiator for agencies and growth-focused companies.
Protect sensitive revenue and performance data. Your leadership may need full-funnel metrics, revenue breakdowns, and campaign margins. Your junior team or external partners do not. Restricting each Highlevel Dashboard by user role keeps privileged insights behind an elegant, invisible barrier.
Deliver a curated experience for clients. Clients should see only what matters to them: outcomes, KPIs, and curated reports. When you use Dashboard Access Control to hide internal tools, operational clutter, or experimental dashboards, you create a streamlined, premium viewing experience that clients associate with high-end service.
Reduce confusion and decision fatigue. Too many widgets, tabs, and options make a dashboard feel noisy and unsophisticated. By assigning precise User Permissions, each role sees a focused, calming layout that invites confident decision-making—not guesswork.
Minimize costly mistakes. When everyone can edit or access everything, errors are inevitable. A mis-clicked setting, a deleted widget, or an exposed metric can cost you more than time. Restricting dashboards by user role ensures that only the right hands can make meaningful changes.
📌 Key Takeaway: Role-based dashboards are not about limitation—they are about elevating each user’s experience to match their responsibilities and expectations.
Understanding Roles, Permissions, and the Highlevel Dashboard Ecosystem
To restrict a Highlevel Dashboard with grace and precision, you first need a clear mental model of your user landscape. In most agencies and sophisticated businesses, you’ll see a familiar cast of characters, each with distinct needs and privileges:
Agency Owners & Executives: Require a panoramic view—financial performance, pipeline health, campaign ROI, and retention metrics. They deserve the “penthouse” dashboard with near-complete visibility and strategic insights.
Account Managers & Strategists: Need to see client-specific performance, communication logs, campaigns, and outcomes, but not necessarily high-level profit margins for the entire agency.
Specialists & Operators: Ad buyers, copywriters, and CRM specialists benefit from focused dashboards that highlight tasks, campaign metrics, and operational KPIs—not executive-level financials.
Clients: Deserve elegant, branded dashboards that showcase results, trends, and key KPIs without exposing internal notes, experimental campaigns, or other clients’ data.
Your Dashboard Access Control strategy should mirror this structure, assigning User Permissions that feel natural to each of these roles. Once this hierarchy is clear, you are ready for a meticulous, step-by-step implementation.
Step by Step Guide: How to Restrict a Highlevel Dashboard by User Role
Step 1: Define the Ideal Experience for Each Role
Before touching a single setting, start with intention. For each role—owner, manager, specialist, client—ask:
What decisions should this person be able to make from their dashboard?
Which metrics are essential, and which are distracting or sensitive?
Should this role be able to edit, or simply view, the dashboard?
This exercise ensures that when you eventually restrict dashboard access, you’re not arbitrarily locking doors—you’re crafting bespoke experiences that feel deliberate and premium.
Step 2: Map Roles to Highlevel User Types and Permissions
Within Highlevel, you’ll configure User Permissions to align with the roles you’ve just defined. In your account and sub-account structure, ensure that each user is assigned the correct role type and permission set. This is the foundation of your Dashboard Access Control strategy.
Review your existing users and group them into logical roles (e.g., Admin, Manager, Staff, Client).
For each group, determine the maximum level of dashboard access they need—view-only, partial edit, or full control.
Align these groups with Highlevel’s user types and permissions, ensuring that their account-level capabilities match your dashboard intentions.
When roles and permissions are elegantly aligned, every subsequent dashboard you build will naturally inherit this sense of order and exclusivity.
Step 3: Design Separate Highlevel Dashboards for Each Role
Instead of forcing every role into a single, overloaded interface, create distinct Highlevel Dashboard layouts. This is where your luxury mindset truly shines—each dashboard becomes a tailored suite, not a shared lobby.
Executive Dashboard: High-level revenue, pipeline, retention, and profitability metrics. Minimal operational detail, maximum strategic clarity.
Account Manager Dashboard: Client performance, campaign status, communication activity, and renewal risk indicators.
Specialist Dashboard: Channel-specific KPIs, task queues, and operational metrics relevant to their day-to-day execution.
Client Dashboard: Branded, clean, and focused on results—leads, appointments, revenue, and campaign highlights.
By separating dashboards, you make it effortless to restrict dashboard views later on. Each layout already speaks to a specific role, so access becomes a matter of matching the right person to the right space.
Step 4: Apply Dashboard Access Control for Each Role
With the dashboards designed, the next move is to enforce Dashboard Access Control so that only the intended roles can see and interact with each layout. In practice, this means tying each dashboard to specific User Permissions and visibility rules within Highlevel.
For each dashboard, define which user roles should have access—executives, managers, specialists, or clients.
Configure visibility so that only those roles can view or interact with that dashboard. If your setup allows, assign dashboards at the role or user-group level rather than individually, to keep management elegant and scalable.
Ensure that roles with limited permissions see only their specific dashboards in navigation, maintaining a clean, distraction-free interface.
The result is a series of role-specific Highlevel Dashboards, each one precisely restricted, each one reflecting your brand’s obsession with thoughtful, intentional access.
Step 5: Fine-Tune Widget-Level Visibility for Discreet Control
Sometimes, you want a role to access a dashboard but not every element within it. This is where widget-level visibility becomes your secret weapon. By adjusting what each role can see inside a single dashboard, you preserve a unified layout while keeping sensitive components hidden.
Hide revenue or margin widgets from client views while still showing lead volume and appointments booked.
Restrict advanced configuration or automation widgets to admin-level roles, preserving a clean look for operators and clients.
Display only task-related metrics to specialists, keeping high-level financials reserved for leadership.
This granular approach to Dashboard Access Control ensures that every user feels trusted with exactly the right level of information—no more, no less.
Step 6: Test the Experience from Each Role’s Perspective
A luxury experience is never accidental; it’s tested, refined, and polished. Once your Highlevel Dashboard restrictions are in place, log in as each role (or use test accounts) to experience the journey firsthand.
Confirm that each role sees only the dashboards and widgets intended for them.
Check that navigation feels simple, intuitive, and uncluttered—no empty tabs, no dead ends, no confusing options.
Ensure that any role with view-only User Permissions cannot accidentally edit or delete critical elements.
💡 Pro Tip: Invite a trusted client or senior team member to experience their new dashboard and share candid feedback. Refinement is part of the luxury process.
Step 7: Standardize Your Role-Based Dashboard Blueprint
Once you’ve perfected your role-based Dashboard Access Control, don’t reinvent it for every new client or team. Turn your work into a signature blueprint—your agency’s private “dashboard collection.”
Document which dashboards belong to which roles, and which User Permissions are required for each.
Create templates you can quickly adapt for new clients or teams while preserving your high-end structure.
Train your internal team to follow this step by step guide whenever they build a new Highlevel Dashboard, so every deployment meets your luxury standards.
Why You Should Restrict Every Single Highlevel Dashboard You Create
At this point, the question is no longer whether you should restrict a particular dashboard. The real question is: can you afford not to restrict every Highlevel Dashboard you create? For agencies and businesses building a premium brand, the answer is clear.
Consistency builds trust. When every dashboard behaves the same way—clean, role-specific, and secure—your clients and team come to expect a reliable, elevated experience every time they log in.
Scale without chaos. As you onboard more clients and expand your team, unrestricted dashboards quickly become unmanageable. A disciplined Dashboard Access Control strategy scales gracefully, like a well-run luxury hotel where every guest knows exactly which room is theirs.
Protect your brand’s reputation. One accidental data exposure, one client seeing another client’s metrics, or one team member editing the wrong dashboard can undermine months of trust-building. Restricting dashboards by user role is a quiet, powerful layer of protection for your brand.
Elevate perceived value. When clients experience a perfectly curated, branded Highlevel Dashboard that shows them only what matters, they feel like they are part of something exclusive. That feeling is priceless—and it justifies premium retainers and long-term relationships.
Bringing It All Together: Your Next-Level Highlevel Dashboard Strategy
Restricting a Highlevel Dashboard by user role is not just a security measure. It is a design philosophy, a brand statement, and a competitive advantage. When you combine clear role definitions, thoughtful User Permissions, and meticulous Dashboard Access Control, you create an environment where every user feels that their dashboard was crafted just for them.
Follow the step by step guide in this article each time you build a new dashboard:
Define the ideal experience for each role.
Map roles to Highlevel user types and permissions.
Design separate dashboards that match each role’s responsibilities.
Apply Dashboard Access Control so only the right roles see each dashboard.
Fine-tune widget-level visibility for discreet control over sensitive metrics.
Test the experience from each role’s perspective and refine the details.
Standardize your blueprint so every new Highlevel Dashboard reflects the same luxurious standard.
When you treat access as carefully as you treat design, your dashboards stop being mere tools and become signature experiences—quietly impressive, impeccably curated, and unmistakably yours. That is the power of choosing to restrict dashboard views by user role on every Highlevel deployment you create.
The next time a client or executive opens their Highlevel Dashboard and finds a perfectly tailored view—no noise, no confusion, just exactly what they need—you’ll know that your commitment to role-based Dashboard Access Control is not just a configuration choice. It is a reflection of the luxury standard at which your business or agency operates.