Build Your First Hghlevel Funnel: Step-by-Step Guide
Marketing, Lead Generation, Funnels
How to Build Your First Opt‑In Funnel: A Step‑by‑Step Guide for Businesses and Agencies
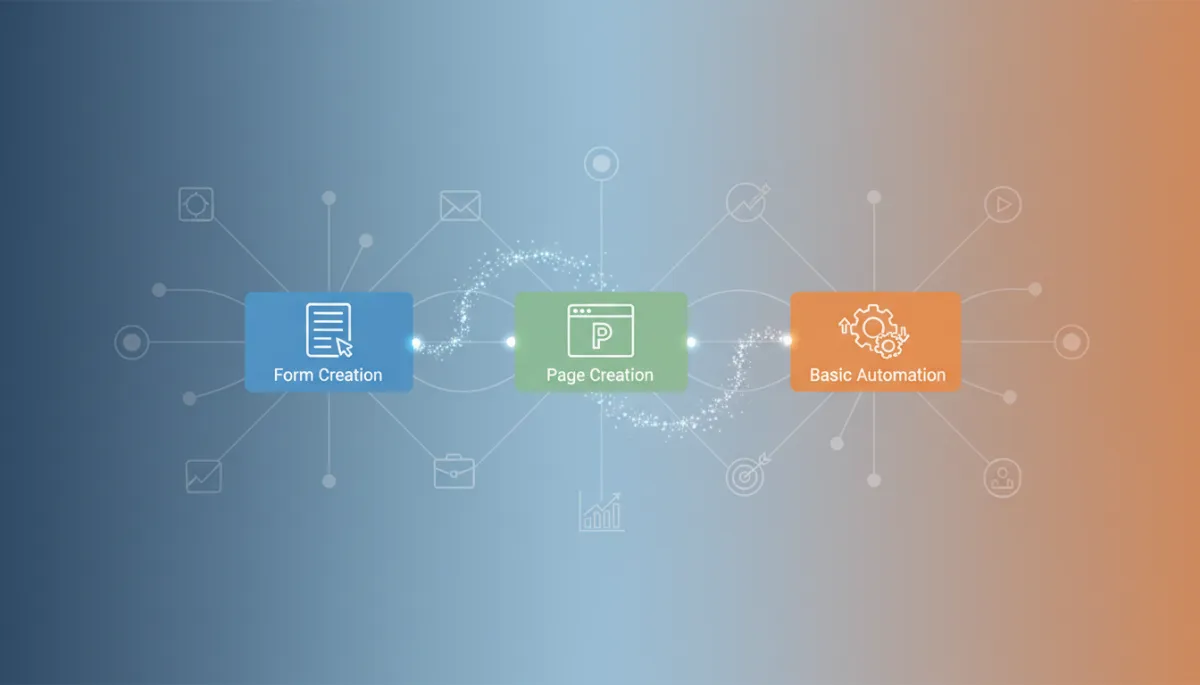
This guide will walk you, step by step, through creating your very first opt‑in funnel—from building the form, to designing the pages, to setting up a simple automation that follows up with every new lead. It’s written for businesses and agencies that want a clear, beginner‑friendly process they can use today.
What Is an Opt‑In Funnel and Why It Matters
An opt‑in funnel is a simple, focused sequence that turns strangers into leads. At its core, it usually has three parts:
A form that collects contact details (typically name and email)
A page (or two) that presents an offer and thanks the visitor for subscribing
A basic automation that sends them what you promised and nurtures the relationship
For businesses and agencies, this is the foundation of predictable lead generation. Instead of waiting for referrals or hoping people call, you’re building a system that captures interest 24/7 and follows up automatically. Once you’ve built your first opt‑in funnel, you can duplicate and improve it for different offers, audiences, and campaigns.
💡 Pro Tip: Don’t aim for perfection on your first funnel. Aim for a simple version that works end‑to‑end. You can optimize copy, design, and targeting after you’re collecting real leads.
Step 1: Clarify Your Offer and Audience Before You Build Anything
Before you touch a funnel builder, decide who you’re talking to and what you’re offering in exchange for their email. This will make every step—form, pages, and automation—much easier and more effective.
Choose a Simple, Specific Lead Magnet
Your lead magnet is what people get when they opt in. For your first funnel, keep it simple and fast to produce. For example:
A 2–3 page PDF checklist (e.g., “10‑Point Website Conversion Checklist for Local Businesses”)
A short video walkthrough (5–10 minutes) solving one clear problem
A template or swipe file (e.g., email script, ad copy framework)
The key is relevance: pick something directly connected to your core service. If you’re an agency offering paid ads, your lead magnet might be a “Paid Ads Audit Checklist.” If you’re a local business, it might be a “New Customer Welcome Offer” voucher.
Define the One Action You Want Leads to Take Next
Your opt‑in funnel shouldn’t stop at collecting emails. Decide the next logical step you want people to take once they’ve received the lead magnet. For example:
Book a consultation call
Request a quote or demo
Visit a key service page or pricing page
You’ll use this “next step” later in your thank‑you page and automation to gently move new leads closer to becoming clients or customers.
💡 Pro Tip: Write a one‑sentence summary of your funnel: “We help [audience] get [lead magnet outcome] so they’re ready to [next step].” Keep this sentence visible while you build—if something doesn’t support it, leave it out.
Step 2: Create Your Opt‑In Form (Form Creation, Simplified)
The form is where the conversion actually happens. For your first funnel, keep the form clean, minimal, and friction‑free. Almost every funnel or email platform will follow a similar process, even if the buttons and labels look slightly different.
1. Create a New Form in Your Platform
Log in to your funnel or email tool and look for something like “Forms,” “Opt‑in Forms,” or “Lead Capture.” Click “Create New” or “Add Form” and give it a clear name, such as “Website Checklist Opt‑In – Main.”
Use names that describe both the offer and the location (e.g., “Homepage,” “Facebook Ad Campaign”) so you can find and measure them later.
2. Choose the Fields You Actually Need
For a beginner funnel, you rarely need more than:
First Name (optional but helpful for personalization)
Email Address (required)
Resist the urge to ask for phone numbers, company size, or budgets on your first funnel. Every extra field lowers your conversion rate. You can always qualify leads more deeply later via email or on a call.
💡 Pro Tip: Make only email required at the start. If you include “First Name,” keep it optional. This tiny change can noticeably increase opt‑ins, especially for cold traffic.
3. Write a Clear, Benefit‑Driven Form Headline and Button
Most tools let you add a small headline or description above the form and customize the button text. Use this space to repeat the benefit of opting in, not vague phrases like “Subscribe to our newsletter.”
Example headline: “Get the 10‑Point Website Conversion Checklist (Instant Download)”
Example button: “Send Me the Checklist” instead of “Submit”
Under the button, add a short reassurance line like “We respect your privacy. Unsubscribe anytime.” This can reduce hesitation without cluttering your design.
4. Connect the Form to a List, Tag, or Segment
Your form needs to tell your system where to put new contacts. In most platforms, you’ll either:
Add them to a specific list (e.g., “Website Checklist Leads”), or
Apply a tag (e.g., “Lead Magnet – Website Checklist”)
This step is critical for your automation later. When someone submits the form, that list or tag will be your trigger to send emails or start workflows.
5. Set the Post‑Submit Action (Redirect to a Thank‑You Page)
Finally, decide what happens right after someone hits the button. For a professional funnel, you want them redirected to a dedicated thank‑you page, not just a tiny message below the form. In your form settings, look for “Redirect URL” or “After Submit” and paste the URL of your thank‑you page (you’ll create it in the next step).
💡 Pro Tip: Always test your form as if you were a new lead. Use a real email address, submit the form, and confirm that you’re added to the right list, redirected correctly, and receive the follow‑up email.
Step 3: Build Your Funnel Pages (Page Creation That Converts)
A basic opt‑in funnel usually needs two pages:
A landing page with your form and offer details
A thank‑you page that confirms the opt‑in and suggests the next step

-toned mockup of a simple landing page and thank-you page side by side on a laptop screen, clean...
Even a minimal two-page funnel can reliably turn visitors into qualified leads.
1. Create a Clean, Focused Landing Page
In your funnel or website builder, create a new page and choose a simple opt‑in or “squeeze page” template. Avoid templates with menus, sidebars, or multiple calls to action—distraction is the enemy of conversions.
Craft a Clear Headline and Subheadline
Use your headline to promise a specific result. Your subheadline should support it with a little more detail or credibility.
Example headline: “Boost Your Website Conversions in 30 Minutes or Less.”
Subheadline: “Download our 10‑Point Checklist used by agencies to quickly find leaks and easy wins.”
Add a Short Benefit‑Driven Bullet List
Under your headline, include 3–5 bullets that answer the visitor’s silent question: “What will I actually get from this?”
“Spot the three most common conversion killers on service pages”
“Quick fixes you can implement in under an hour”
“Pro tips agencies use to turn more visitors into leads”
Place Your Form Above the Fold
Embed the form you created earlier near the top of the page so visitors don’t have to scroll to find it. Most builders let you drag a “Form” element onto the page and choose the exact form from a dropdown.
Keep the design simple: plenty of white space, a neutral color palette, and one primary button color that stands out. Use a single, clear call to action that matches your form’s button text.
💡 Pro Tip: Remove navigation menus and extra links from your landing page. The more exits you offer, the fewer people complete the form. Your goal is one decision: opt in or not.
Add Social Proof if You Have It
Even one or two short testimonials or logos can boost trust. If you’re an agency, include a line like “Used by clients in [industry] to uncover quick wins.” If you’re a local business, mention how many customers you’ve helped.
2. Build a Thank‑You Page That Guides the Next Step
Your thank‑you page is more than a polite “thanks.” It’s a chance to set expectations, deliver your offer, and gently move leads closer to working with you.
Confirm and Set Expectations
Start with a clear confirmation message:
“You’re in! Your checklist is on its way to your inbox.”
Add a short note about what to do if they don’t see it (“Check your spam or promotions tab”) and how quickly it will arrive (“Usually within 2–3 minutes”).
Introduce the Next Step in Your Funnel
Next, tie back to the “one action” you defined earlier. For example:
“While you wait, you can book a free 20‑minute Website Conversion Review with our team.”
Add a button that links to your booking calendar, contact page, or a key service page. Keep the tone helpful, not pushy—this is an invitation, not a hard sell.
💡 Pro Tip: If you’re an agency, customize the thank‑you message slightly for each campaign or traffic source. Mention where they came from (“Saw us on LinkedIn?”) to make the experience feel more personal.
Step 4: Set Up a Basic Automation to Deliver and Nurture Leads
Now that your form and pages are ready, it’s time to build a simple automation. The goal is straightforward:
Immediately send the lead magnet they requested
Follow up with a short sequence that builds trust and points to your next step
1. Choose Your Automation Trigger
In your automation or workflow builder, create a new automation and select a trigger. This will usually be one of:
“Form submitted: [Your Opt‑In Form Name]”
“Tag added: [Lead Magnet – Website Checklist]”
This tells your system: whenever someone opts in through this form (or gets this tag), start the automation.
2. Build the Immediate Delivery Email
The first step in your automation should be an email that arrives within a few minutes of the opt‑in. Keep it short, friendly, and focused on delivering what you promised.
Subject idea: “Here’s your Website Conversion Checklist 🎯” (you can skip emojis if you prefer a more formal tone)
In the body:
Thank them for requesting the resource and remind them of the benefit (“This checklist will help you quickly find the easiest wins on your site.”)
Include a clear link or button to download or access the lead magnet
Briefly mention what to expect next (“Over the next few days, I’ll send a couple of short tips to help you get the most from the checklist.”)
💡 Pro Tip: Test your download link on both desktop and mobile. A broken first email is one of the quickest ways to lose trust with a new lead.
3. Add 2–3 Simple Follow‑Up Emails
You don’t need a 30‑day sequence to start. A short, focused series can already make a big difference. Here’s a beginner‑friendly structure:
Email 2: Quick Win + Soft Call to Action (1–2 Days Later)
Timing: Add a “Wait 1 day” or “Wait 2 days” step, then send this email. Focus on one actionable tip from your checklist or lead magnet and show them how to implement it quickly.
At the end, add a soft CTA: “If you’d like help applying this to your own site, you can book a free 20‑minute review here.” Link to your booking or contact page.
Email 3: Case Study or Story (2–3 Days After Email 2)
Share a short story of a client or customer (no need for names if you prefer privacy) who used the same principles to get a result. Make it concrete: “We increased leads by 32% in 30 days by fixing these three issues.”
End with a clearer CTA: “If you’d like us to review your funnel and suggest similar improvements, click here to schedule a call.”
Email 4 (Optional): Direct Invitation
If you want to keep it very simple, you can stop at three emails. If you’d like one more, send a short, direct invitation a few days later, summarizing what they’ve learned and clearly stating how you can help if they want more support.
4. Turn On and Test Your Automation
Before you go live, walk through the entire journey as if you were a prospect:
Visit the landing page and submit the form with a test email address.
Confirm you’re redirected to the correct thank‑you page.
Check that the immediate email arrives, the link works, and the lead magnet downloads or opens correctly.
Verify that you’re added to the right list or tag and that the next emails are queued or sent at the right times.
💡 Pro Tip: Use a second test with a different email provider (e.g., one Gmail, one business email). This helps you spot deliverability or spam folder issues early.
Step 5: Connect Traffic to Your Funnel and Track the Basics
A funnel without traffic is like a shop with the lights off. Once your form, pages, and automation are live, you need to send people to your landing page and pay attention to a few simple metrics.
1. Start with Low‑Friction Traffic Sources
As a beginner, you don’t need complex ad campaigns right away. Begin with traffic you can control easily:
Add the landing page link to your email signature and team signatures.
Share it on your social profiles and relevant groups where you’re already active.
Add a banner or button on your website’s homepage or blog posts.
Agencies can also test small, targeted ad campaigns once the funnel is working reliably with warm traffic.
2. Track a Few Simple Numbers (Don’t Overcomplicate It)
For your first funnel, focus on three basic metrics:
Visitors to the landing page (how many people see the offer)
Opt‑ins (leads) (how many submit the form)
Booked calls or next‑step actions from those leads
A simple benchmark for a decent beginner funnel: if 20–40% of visitors are opting in, you’re on the right track. If it’s much lower, consider tightening your headline, simplifying the page, or making the lead magnet more specific to your audience.
💡 Pro Tip: Make one change at a time and give it a few hundred visitors before judging. This makes it much easier to know what actually improved or hurt performance.
Common Beginner Mistakes (and How to Avoid Them)
As you build your first opt‑in funnel, it’s normal to feel unsure. Here are some frequent pitfalls businesses and agencies run into—and simple ways to sidestep them.
Trying to build too much at once. Start with one funnel, one lead magnet, and one audience. You can always expand later.
Overloading the form with fields. Keep it to name and email initially. Extra questions belong on later forms or calls.
Designing for “pretty” instead of clarity. A simple, neutral layout with clear text usually outperforms a visually busy page.
Forgetting to test the full journey. Always run through your funnel as a user before sending real traffic.
Leaving leads hanging. Don’t stop at a single delivery email. Even two or three follow‑ups can dramatically increase booked calls and sales.
Putting It All Together: Your First Opt‑In Funnel Blueprint
Let’s recap the step‑by‑step process you can follow today to build your first opt‑in funnel, even if you’ve never created one before:
Clarify your offer and audience. Choose a specific lead magnet and decide the next step you want leads to take.
Create a simple opt‑in form. Use just name and email, write a benefit‑driven headline and button, and connect the form to a list or tag.
Build a focused landing page. Clear headline, short bullet list, form above the fold, and minimal distractions.
Create a thank‑you page. Confirm the opt‑in, set expectations, and invite them to your chosen next step (call, demo, etc.).
Set up a basic automation. Triggered by the form or tag, it sends the lead magnet and 2–3 short follow‑up emails with value and clear invitations.
Test the full journey. Opt in yourself, check the pages, emails, and links, and fix any issues before sending traffic.
Send initial traffic and watch the basics. Share the funnel with your existing audience, track visitors, opt‑ins, and booked calls, and improve from there.
Final Thoughts: Start Simple, Then Optimize
Building your first opt‑in funnel can feel intimidating, especially if you’re juggling client work or running a busy business. But when you break it down into form creation, page creation, and a basic automation, it becomes a manageable, step‑by‑step project instead of a mysterious marketing task on your to‑do list.
As a business or agency, the real power of this process is that it’s repeatable. Once you’ve built one working funnel, you can:
Clone it for different services or niches with only minor tweaks to the copy and offer
Layer in more advanced automations later (segmentation, conditional paths, upsell sequences) once the basics are performing well
Use your funnel as a core asset in presentations, proposals, and client campaigns
The most important step is the first one: launching a simple, functioning funnel that collects leads and follows up reliably. From there, every improvement you make—better headlines, sharper offers, smarter automations—builds on a foundation that’s already working for you around the clock.
Start with the process in this guide, keep your setup clean and beginner‑friendly, and treat your first opt‑in funnel as a living system you can refine over time. The sooner it’s live, the sooner it can start turning attention into opportunities for your business or your clients.